Read the transcript
Using one note at a time. Now, the bass line also has a groove job and a rhythm job, but the note job of it, the harmony job, is to outline the chord sound. Since the chord, the basic chord, is made up of the triads, your main notes to use in any bass line are always going to be the one, three, or five. It doesn't mean you have to play all of them, it just means at least one of them is going to be involved, the root of course, and then the other notes that you might add are going to be the three and the five. Then the other notes, the scale, you add to connect the one to the three to the five back to the one, in whichever way you're moving. So the two, four, and six actually become connectors, as well as notes outside the scale too. You can have what's called chromatic approach notes, but the core of the bass line is always going to be the triads. So getting into triads and understanding the different ways that you can play them is a really good idea.
Also, you should know that you can video record these lessons. Yeah, I saw your note on that, I haven't done anything about that yet. That's going to be a huge, great feature once we start getting into more detailed, complex information, because you can actually watch a video of me teaching this whole thing again. Oh yeah, you know, getting that software, Pamela, I think, works well with PC. I have some students that use Pamela, and there's some other choices too, so you can Google around, see what you find. Sure, absolutely, but that's one of the best features people say about these things, that they can video record it and then go back and watch it, to review procedures. This is really good, huh. This is impressive. Yeah, I mean, this works remarkably well, it really does, if you have it set up right, then this really works good.
Perfect, all right, so I'm going to go through, and I'd like you to practice these. Great, all right, so the first thing I want to do is say, okay, I'm section one, left side position, I need two strings above the one. All right, so I'm going to go one three five, three one three five, three, and then do the inversion, one five three five, one five three five. All right, now then I'm going to go to the next slide, slide two, which is going to be the minor version of it. Now all we do is lower the third degree a half step, and we call it flat three, because the third degree of a scale and or chord is what determines whether it's major or minor. I didn't know that. Okay, right, so now we go one flat three five flat three, one flat three five flat three, one five flat three five, one five flat three five.
Okay, now the next slide is going to be slide three, going to be center position. Section one, three and five are still above the root, but you only need one string above the root note to play this one. One three five, three one three five three, one five three five, one five three five. We go to, huh, they were the identical notes, right? Yeah, okay, but the position that you're playing in are different. And depending on how you're fingering a bass line, you might choose a left side, or a center position, or even a right side position, because it's more economical for your hand to play it. So knowing these different ways to play triads are going to give you options for playing bass lines and cut out unnecessary shifting, and that just becomes muscle memory for you, I guess, at some point. Oh yeah, definitely. I mean the whole instrument does, the same way that your voice works as muscle memory for spoken language. Your bass is really your vocal cords for the language of music, so you want to get all that stuff happening on the bass to where you don't think about it, your hands just know where to go. And part of that training is this.
All right, so then slide four is going to be the minor version. One flat three five flat three, one flat three five flat three, one five flat three five, one five flat three five. Next slide is going to be right side position, major, section one, notice that the three and the one are on the same string. Now let your hand move, can you see a picture of me, do you have a picture of me somewhere on your screen, a small one somewhere? No, the small one, no. I have you on my main screen. Okay, I'm sorry, I thought I still had my screen sharing up for a second. Oh yeah, no, you're good.
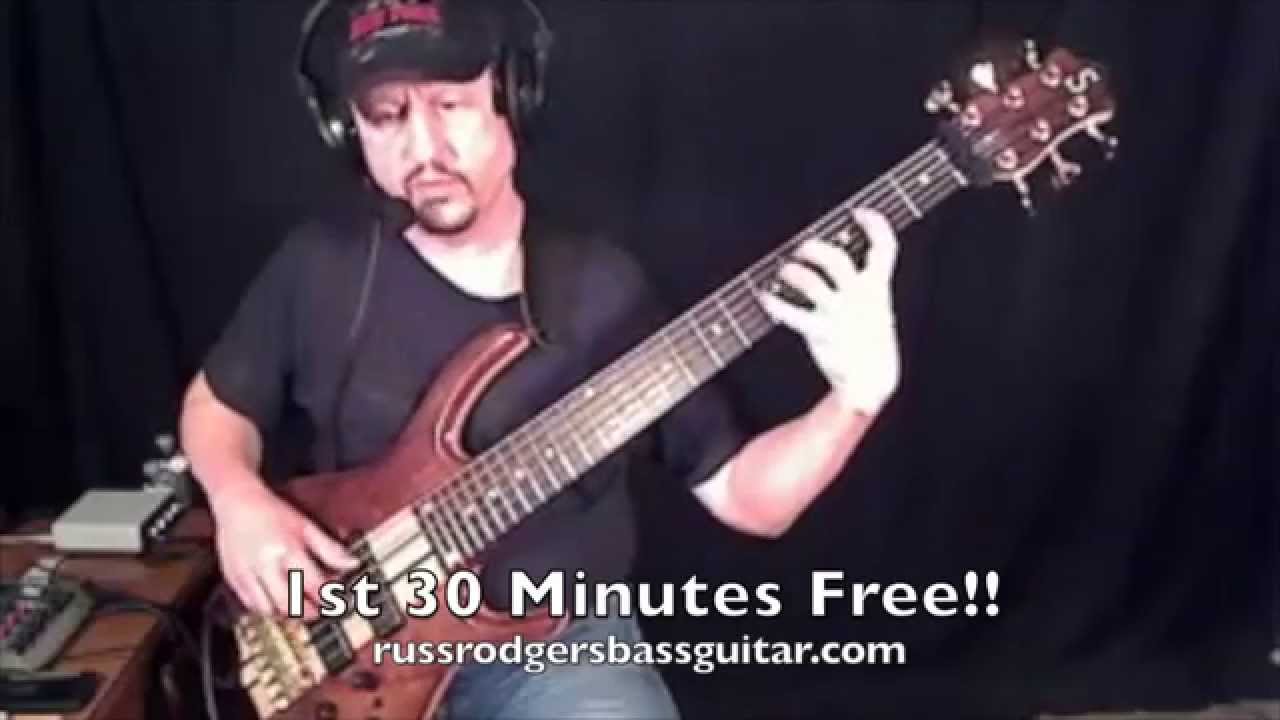
Okay, now on this you don't have to play with your hand stretched out like this, in fact, unless you have to for the speed of the notes, you really should never play like that, you always play real relaxed, just let your hand move comfortably. One three five three, one three five three, one five three five, one five three five one. All right, then the minor version of that. Can I ask you a technique question? Sure. Because on your index finger there, on the fifth fret, I guess it's okay that you weren't right at the fret bar? No, you don't want to be on it, you want to be just behind it. Behind it, yeah, because if you get on it, you start to interfere with the string vibration, because what you're doing is that note is produced by putting pressure directly on the top of that fret, that's where that note actually starts vibrating. So once you start getting on top of the fret, then you start to interfere with the string vibration. So just being just behind, it's the best place, because you get the best leverage over that fret with the least amount of pressure. Got it. Minor, one flat three five flat three, one flat three five flat three, one five flat three five, one five flat three five.
All right, now we go to section two. Now, section one is the only section that has a left, center, and a right side position. Section two just has a left and a right, no center. All right, now you'll notice that we put the root note now on the D string, with the G root note. The reason we did this is because we're going to need two strings below the root note in right side position for section two, and section two means that the third and fifth are sonically below the root note, they're lower pitch notes than the one. Section two, lower pitch notes than the one, right. And in left side position, you only need one string below the root note to play it, but now we're going to do our root note on the fifth fret of the D string, which would be the G, see what I mean? Yeah, okay. One three five three, one three five three, one five three five, five three five.
Okay, right, then minor. Now, some of these, you're going to look at these and go, well, that doesn't look very user friendly, and in and of themselves they may not be, but when you're playing a bass line with other stuff going on around it, it will actually make more sense to play it this way than another way and unnecessarily shift your hand. You'll find it easier to actually work a little bit harder this way as opposed to shifting your hand back and forth. One flat three five flat three, one flat three five flat three, one five flat three five, one five flat three five.
All right, then we go to right side position, this will be slide number nine. Okay, I'm there. All right, now we're going to play our first finger on the fifth fret of the D string, then our three is going to be on the seventh fret of the E. Okay, it's kind of unusual, huh. That's right side, despite the fact that the five and the one are on the same fret. Yeah, because generally center position refers to one being on the left side, one being on the right side, generally speaking. And these are names I just made up for this stuff, to catalog the information so that you have a place to kind of index it, so when you start applying it you can kind of grab a hold of it easier.