

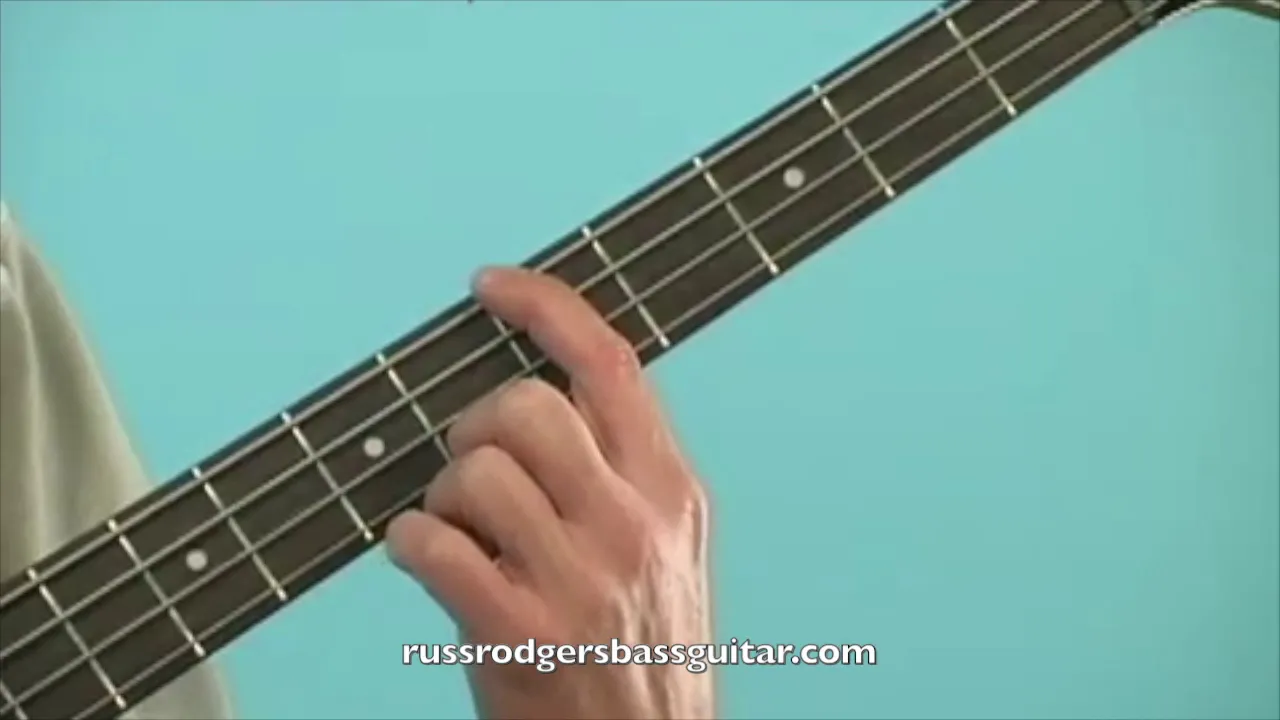
The root-and-octave pattern shows up all over funk, rock, pop, and fusion, and it is a great one to have in your hands! Running it well trains your right-hand thumb-and-pop coordination while it builds left-hand finger independence on the E and D strings. Let's get your bass out and get started.
Set up the right hand first
Line up the joint of the thumb with the tip of the thumb along the string, so that the whole hand moves together as you change strings instead of the thumb angling out on its own. That will keep you from accidentally hitting strings you don't want to hit.
Then angle up a little bit at the wrist so that you are striking with the end of the thumb, just below the nail. The strike is a wrist turn, and it is almost like you throw the thumb into the string and it bounces off. On this line the thumb is only playing the E string, so work on your aim and your tone right there first. You want two things in your slap sound, first a good click, and then a good regular note as if you were picking it normally, and those two elements together are what give you a good tone.
Pop on the side of the first finger
Because the thumb angle turns the hand around a little bit, the first finger ends up rotated as well, so you will be popping on the side of the finger rather than the flat of it the way you would when you pick the string normally.
It is very easy to raise a blister there if you do this too much. As soon as you feel the finger start to get a little bit tender, stop popping for a while and let that tenderness go away, then gradually toughen the finger up. If you wait until you raise an actual blister, you have got to wait for it to heal and start the whole process over again.
Going from string to string, the motion works like this. The thumb strikes down, the hand comes back up, and on the way up the first finger grabs the D string and pops it, which leaves you set and ready for the next thumb.
Four octave pairs across the fingerboard
The left hand plays four octave pairs. In every one of them the lower note is on the E string under the first finger, and the octave sits on the D string under the third finger, two frets higher.
- A / A, E string fret 5 (first finger), D string fret 7 (third finger)
- F# / F#, E string fret 2 (first finger), D string fret 4 (third finger)
- G / G, E string fret 3 (first finger), D string fret 5 (third finger)
- Ab / Ab, E string fret 4 (first finger), D string fret 6 (third finger)
After the A-flat you are back at your starting point on the A, and that is the whole line right there!! I recommend working each pair on its own for a short period of time before you move on to the next one.
Lift pressure instead of lifting the finger
This is the part that is easiest to get wrong. When you thumb the low note and then go to pop the octave, you want to lift pressure off the first finger and apply pressure with the third, keeping both fingers in contact with the strings the whole time. It is best that you don't actually pick the first finger up off the string, you just release the pressure so that the first note stops ringing and press the third finger in at the same time. Staying in contact with the strings is what keeps the buzzing and the overringing from bleeding between the two notes.
Put it in time
Count "one-and, two-and, three-and, four-and" and play one pair on each downbeat:
- Beat 1, A / A
- Beat 2, F# / F#
- Beat 3, G / G
- Beat 4, Ab / Ab
Loop it. Once it feels solid, put the metronome on and play it through in perfect time, and that is where you find out whether the pressure lift has really become automatic, because any hesitation between the thumb and the pop is going to show up as a rush or a drag. Get it clean at a slow tempo and the whole line starts to feel great!
Key takeaways
- Thumb alignment comes first, joint to tip along the string, the wrist angled up, and the strike landing just below the nail. Good slap tone is the click plus the regular note together.
- The pop lands on the side of the first finger. Stop as soon as the finger feels tender, before it blisters.
- Four pairs (A, F#, G, and Ab), first finger on the E string and third finger two frets up on the D.
- Lift pressure between the notes and keep both fingers on the strings.
Slap is one of the fundamentals I teach. For a companion piece on the thumb position itself, see slap hand position. For feedback on your thumb, pop, and pressure-lift, online bass lessons via Zoom are available.